Best Room Location for Your Microphone
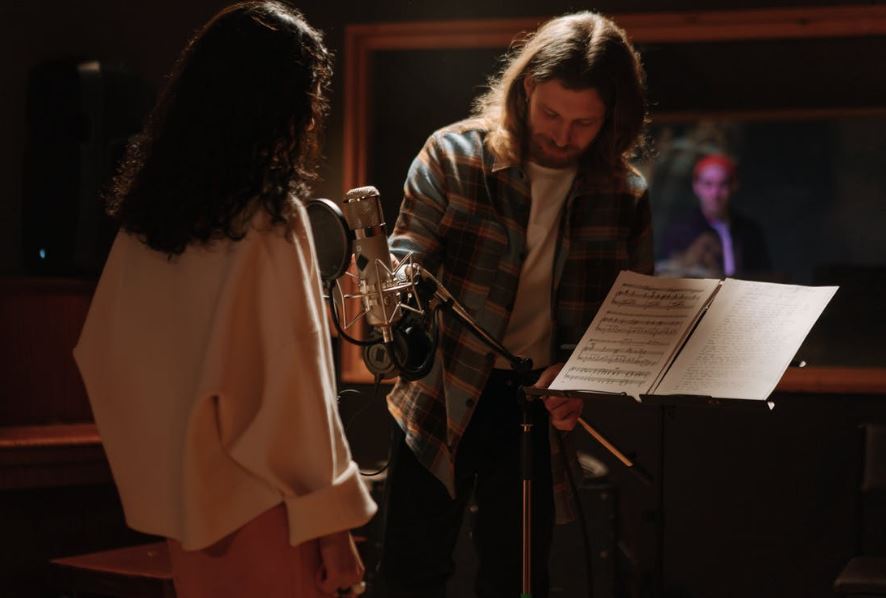
A room mic's purpose is to capture the ambience of the space you're recording in. However, it is not quite that simple. In general, there is far more to consider than you may realize at first. Let's get started with some important considerations for placing a room microphone. When you need to capture more space, use a room microphone. They can be used in unconventional settings to capture new sounds and generate new ideas. There are a few rules to follow, such as proximity and phase. If you can remember all of this, your use of a room mic will be seamless. Additionally, a sound system, speakers, and microphones are required to improve the quality of your voice for listeners. Just like when you are choosing the best karaoke machine on a budget, you need to consider the performance of your microphone. Often only one is provided in the karaoke set but you can avail additional one if you opt for two microphones. As to where is the best location for your microphone, here are some considerations in choosing a room location which is suitable for your microphone:
1. Find the right perspective.
The most important thing to get right at the start is where this sound fits into the larger picture. If you want to increase the perceived size of the instrument, move the microphone closer or select a narrower pickup pattern.
These moves can be effective until the microphone becomes so close or narrow that it no longer captures the entire source. If you go too far, it may start to sound smaller in size because you can no longer relate the source to its surroundings. It completely fills the frame, and perspective is lost.
You can place the microphone further away or select a wider pickup pattern to reduce the perceived size of an instrument and hear more of its surroundings. This can work well up until you lose your sense of foreground. This can also be fatal to the perspective. If nothing is comparatively close, everything in the image appears distant and lost.
2. Understand the proximity effect.
Understanding the proximity effect will greatly improve your mic positioning. At audio engineering school, you must first learn about the proximity effect when miking guitar cabinets in the studio. To avoid bleed and feedback when miking a guitar cab live, always use a cardioid placed as close to the speaker cone as possible.
Instrument bleed, stage noise, and other extraneous noise in the studio. However, if you're new to recording and microphones, the live performance habit should be to place the microphone against the mesh of the amp. As a result, the guitar tone was muddy and lacking in clarity.
Second, the proximity effect, which is most noticeable in bidirectional microphones, exaggerated the low end of the microphone signal. Moved the Royer R-121 back several feet without finding the sweet spot. This will result in a more natural-sounding, cleaner guitar tone. All of this is to say that when using directional microphones, be mindful of how close they are to the intended sound source.
3. Listen to the room.
Acoustically speaking, each room is unique. Furthermore, the position of a sound source in a room will drastically alter its sound at any significant distance. If the room is acoustically dead, the sweet spot will be determined primarily by the sound source itself. The sweet spot will be heavily influenced by room reflections if the room is very reverberant.
Move around the room to find the critical distance, which is the point at which the room's initial reflections, reverberation, and standing waves are as strong as the direct sound source. A mic placed at the critical distance may sound nice as an additional ambient mic, but it will not produce a clean capture of the source. So, when you plan a karaoke party with games, you have to test all the equipment you are going to use and the room where you are going to set up your karaoke event to ensure quality sound that will satisfy your guests.
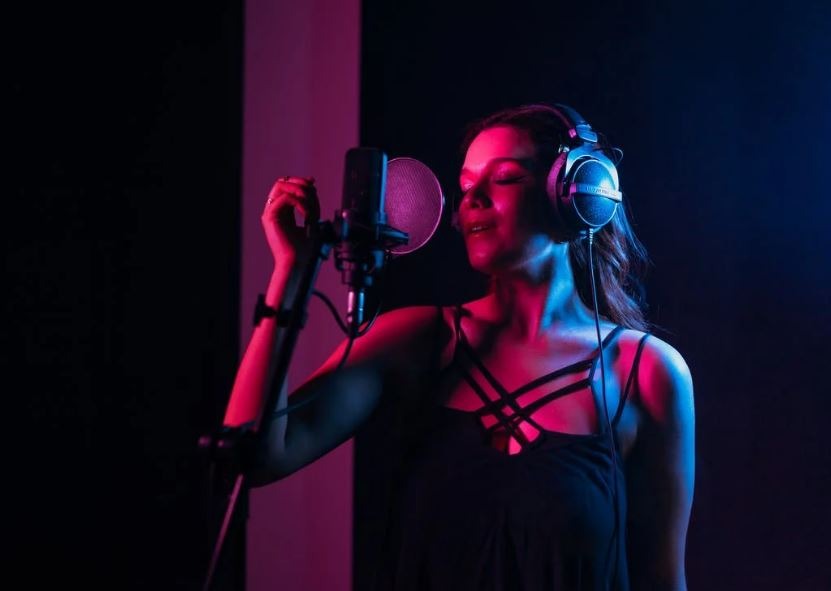
4. Understand vocal plosives.
Most of the time, microphones will be used to record the sound of someone's voice. The human voice produces vocal plosives, which must be understood when positioning microphones for voice recording. What are vocal plosives, and what effect do they have on microphones? Plosives are powerful bursts of wind energy that emanate from a speaker's mouth. Plosives occur on certain consonant sounds when a part of the mouth closes and opens. Sudden opening and closing of the mouth like the lips, tongue, and teeth, or the back of the mouth will overload a microphone, resulting in "pops." One of the most important strategies for reducing and eliminating vocal plosives is mic position.
5. Close-Mic to diminish leakage.
There are numerous situations in which microphone bleed/leakage is unavoidable. We could go on and on about live performances, crowded studio rooms, and panel discussions. Close miking the sound sources in this situation will prevent microphone bleed/leakage from other sound sources. This improves the clarity of each instrument/source and gives the mix more flexibility. The featured instruments in orchestral settings are frequently "spot-mike" to improve their clarity in the mix. Close miking is also used to record vocals in pop music and in panel discussions.
6. Listening with headphones.
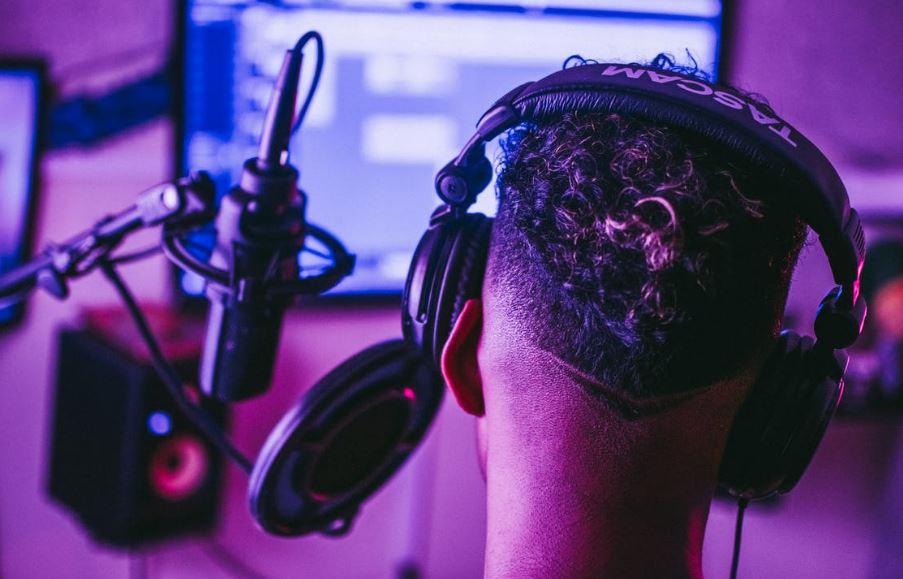
To begin, you must have prior experience estimating what a microphone will "hear" as opposed to what you hear as a flesh and blood, two-eared human being in the same room as the instrument.
A person can easily distinguish between direct and reflected sound in a three-dimensional sound field. This is because reflected sound comes from multiple directions, whereas direct sound comes from only one. The direct sound is not only the loudest, but it is also the first to reach your closest ear, which aids your brain in making the distinction. Because reflections are deemed less important, the brain "zooms in" on the direct sound and filters out much of the rest.
When you use a microphone to record the sound, everything changes. There is no longer a three-dimensional sound field in which the listener can move around only a source consisting of the direct sound and all reflections recorded along with it, all coming at you from the same direction.
This makes it much more difficult for your brain to distinguish between direct and reflected sound, which is why a microphone cannot handle as many reflections as your ears can. That means you'll need to position the microphone closer to the source than you'd expect after listening in the room.
7. Use pop filters.
The engineer is entirely responsible for correctly positioning a microphone to capture a stationary sound source. When recording animated sound sources such as musicians and speakers, things change. When recording people singing or speaking, the distance between the microphone and the vocalist/speaker will inevitably vary. The closer the person is to the microphone, the more noticeable any variation in distance to the mic signal will be. Put a pop filter between the person's mouth and the microphone to help with this. Aside from the numerous other advantages of pop filters, having the barrier in place will help keep the person at a reasonable distance from the microphone.
8. Improve microphone positioning.
You'll be constantly learning your space, and this is true in both million-dollar studios and home studios. One great way to speed up this process is to avoid using your effects arsenal to mask bad microphone placement results.
When recording your sounds, avoid using any initial EQ or compression on your track; this will give you a more accurate sense of how your microphone is picking up the audio source. Assume you're recording an acoustic guitar track with some unpleasant, shrill highs. Instead of cutting frequencies when mixing, try moving the microphone you're using around until you naturally get rid of them.