How to Set Up a Karaoke System in Your Game Room
When setting up a karaoke system in your game room, it's essential to select the right equipment for a seamless experience. Begin by connecting your TV to an audio receiver to ensure optimal sound and video quality. Additionally, consider using wireless microphones and a mixer to balance vocals and music effectively. Creating an inviting atmosphere is also key to enhancing your karaoke nights. So, how can you set the stage for an unforgettable performance?
Equipment Needed for Setup
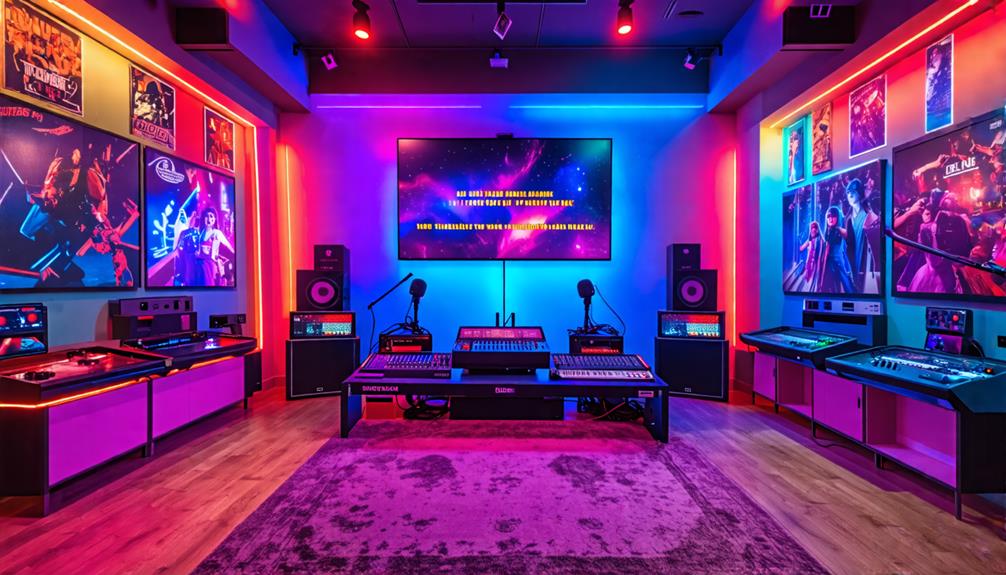
To create an engaging karaoke experience, you'll need a few key pieces of equipment: a Sammy Smart TV, a compatible Yammy AVR, wireless microphones, and a karaoke mixer. Start with the Sammy Smart TV, which serves as your video display and connects via HDMI for seamless integration. The Yammy AVR is vital for audio output and also connects to the TV through HDMI, ensuring excellent sound quality.
Next, invest in wireless microphones. They allow you to move around freely while singing, enhancing the karaoke party atmosphere. A karaoke mixer is essential for optimal audio blending. This device manages audio levels, mixing microphone input with music from various sources like an Xbox or a DVD player.
Lastly, test all connections and audio settings. Set your TV audio output to PCM for compatibility, ensuring everything works smoothly when guests arrive. With this setup, you're ready to host an unforgettable karaoke party that everyone will enjoy!
Audio Configuration Steps
To configure your audio settings for a karaoke system, follow these steps for optimal sound quality and compatibility:
- Set TV Audio Output to PCM: This ensures compatibility with the karaoke mixer and guarantees a seamless connection.
- Connect Wireless Microphone to Karaoke Mixer: This allows for excellent vocal input blending with the music.
- Link Mixer Output to AVR: Use RCA or Aux cables to ensure proper audio transmission from the mixer to the speakers.
- Switch AVR Input to Karaoke Source: Select the corresponding audio source on the AVR to enable smooth sound output during karaoke.
For a quick reference, here's a summary table:
| Step | Action | Notes |
|---|---|---|
| 1. | Set TV Output to PCM | Ensures compatibility |
| 2. | Connect Microphone to Mixer | Ideal for vocal blending |
| 3. | Link Mixer to AVR | Use RCA or Aux cables |
| 4. | Switch AVR Input | Select karaoke source |
Following these steps will help you achieve a seamless karaoke experience.
Video Source Options
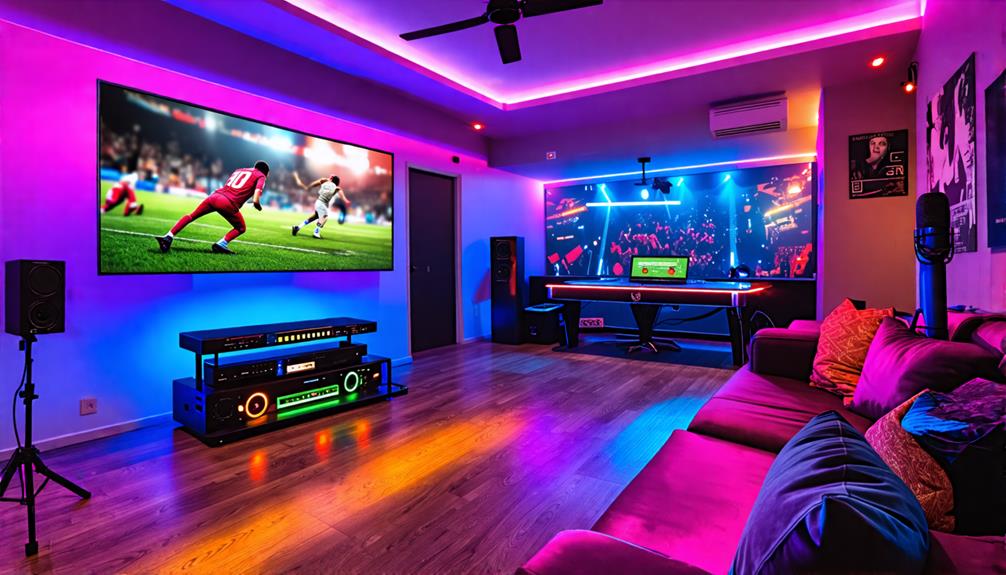
When setting up your karaoke system, consider the various video sources available. Streaming platforms like YouTube offer a vast selection of karaoke tracks. Connecting devices via HDMI can significantly improve video quality. Optimizing these sources will enhance the overall karaoke experience for all participants.
Streaming Platforms Availability
A variety of streaming platforms are available for karaoke, with YouTube being one of the most accessible options due to its extensive library of tracks. The YouTube app is typically pre-installed on most smart TVs, making it easy to access countless karaoke songs. Alternatively, you can use YouTube directly through your TV's web browser for even more content.
For those looking to expand their karaoke experience, other streaming platforms offer unique tracks and features. Keep in mind that the availability of these platforms can vary, so it's worth exploring your options. Ensure you have a stable internet connection, as this affects the streaming quality and synchronization of audio and video, which is crucial for a successful performance. Finding the right streaming service can enhance your karaoke nights. Take the time to evaluate different platforms to determine which ones best suit your needs and setup.
HDMI Connection Benefits
Using an HDMI connection for your karaoke system not only enhances video clarity but also simplifies your setup by combining audio and video into a single cable. This ensures high-definition video output, making lyrics and visuals clear and vibrant on your smart TV screen.
One of the key benefits of an HDMI connection is its ability to reduce clutter by eliminating the need for multiple cables, thus keeping your game room more organized. Additionally, HDMI cables support surround sound formats, enriching your karaoke experience with immersive audio. By connecting your karaoke system to a home theater setup, you can enjoy a more lifelike performance.
Many smart TVs come equipped with built-in apps like YouTube, offering easy access to a vast library of karaoke tracks. Streaming these directly via HDMI eliminates complicated setups and ensures audio and video sync seamlessly, making your performances look and sound professional. Therefore, to elevate your karaoke nights, switch to HDMI and take advantage of these remarkable benefits.
Simplified Setup Process
To set up your karaoke system with a Sammy smart TV and a Yammy AVR, follow these steps for optimal performance:
- Audio Connection: Connect your Sammy smart TV's audio output to the karaoke mixer using an RCA or Aux cable. This ensures balanced sound mixing.
- AVR Connection: Link the karaoke mixer to your Yammy AVR. Select the mixer's output as the audio source on the AVR to enhance sound quality.
- Video Connection: For video playback, use HDMI cables to connect devices like your Xbox or DVD player directly to the TV. This ensures clear visuals for lyrics and performances.
- Audio Settings: Set your TV's audio output to PCM to ensure compatibility with the karaoke mixer, allowing seamless audio blending between the microphone and the music.
- Sound Check: Perform a quick sound check with different song options to ensure everything functions properly.
Follow these steps to prepare for a fantastic karaoke experience and impress your friends with your singing skills!
Enhancing the Karaoke Experience
After setting up your karaoke system, you can elevate the experience with a few strategic enhancements that focus on audio quality and user engagement. Consider the following upgrades:
- Connect your computer to your TV via HDMI: This allows for a larger display of lyrics, making it easier for everyone to follow along.
- Utilize your TV's stereo system: Doing so can significantly enhance audio quality, ensuring clear and vibrant vocal performances.
- Use dedicated karaoke apps: Apps like Karafun and Singa offer extensive song catalogs and features such as pitch adjustment, improving the overall experience.
Additionally, adjusting the volume balance between the microphone and the music track is crucial. This ensures that singers can be heard without overpowering the backing audio, creating a harmonious environment for everyone involved.
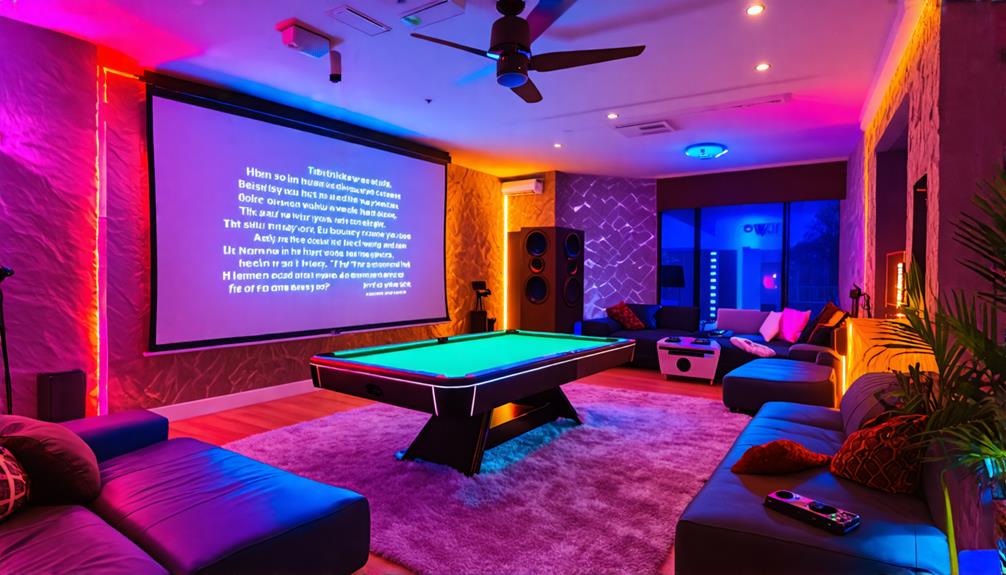
Creating a Relaxing Karaoke Area
Designate a cozy corner in your game room specifically for karaoke, where guests can unwind and enjoy the performances in comfort. This area should feature comfortable seating, such as plush couches or bean bags, to create a welcoming atmosphere for your home karaoke setup.
To maintain enjoyment throughout the event, schedule 15-minute vocal breaks every hour. These breaks allow participants to rest their vocal cords while socializing, ensuring they return refreshed and ready to sing. Consider organizing separate karaoke time slots for kids and adults, so everyone gets a chance to perform songs suited to their maturity level and preferences.
Curate a diverse playlist, mixing retro hits for the older crowd with current chart-toppers for the younger guests. This inclusive approach fosters a fun environment. Encourage group performances to improve participation and create a lively atmosphere, motivating even the shyest guests to join in.
Setting Up a Home Stage
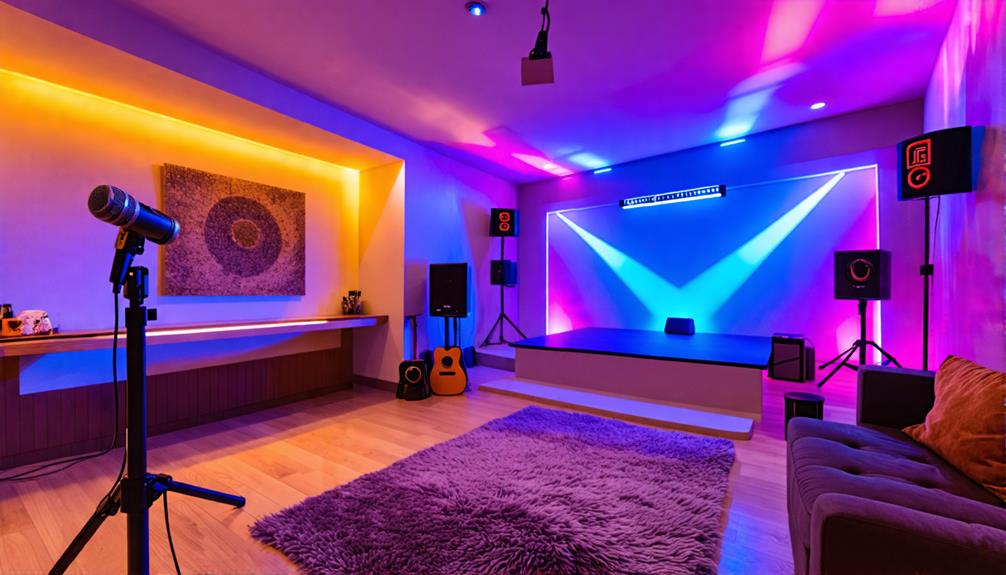
When setting up your home stage, focus on creating a design that captivates the audience. Incorporate lighting that enhances the performance atmosphere and adds energy to the space. Ensure the area feels inviting, so both performers and guests are eager to participate in the experience.
Inspire Stage Design Ideas
Transforming your home into an inviting stage for karaoke nights can elevate the experience for both performers and audiences. Focus on these key elements to enhance the overall atmosphere:
- Dynamic Lighting: Use LED strips or disco balls to create an enchanting ambiance, drawing attention to the stage.
- Themed Backdrops: Incorporate decorations that match the vibe of your karaoke night, making the stage visually appealing.
- Spacious Design: Ensure the stage area is roomy enough for performers to move freely and accommodate microphone stands and any additional equipment.
Lighting for Performance Atmosphere
To enhance the energy of your karaoke performances, effective lighting is crucial for setting the right atmosphere for both singers and the audience. Start by using LED light strips to create versatile accent lighting that can be easily adjusted to match the mood and tempo of the songs. Incorporate DJ lighting, such as disco balls and strobe lights, to elevate the visual excitement and energy during your karaoke sessions.
Position spotlights or colored lights to highlight the performance area, ensuring that singers are well-lit and visible to the audience. This boosts performers' confidence and engages the audience, making them feel part of the show. Consider using remote-controlled lighting systems for effortless adjustments throughout the event, allowing you to create dynamic changes in atmosphere on the fly.
Create a Welcoming Space
Designate a specific area in your game room as the karaoke stage, ensuring it's spacious enough for performers to move comfortably while singing. This will create an inviting atmosphere that mimics a karaoke bar, making everyone feel like a star.
To enhance the experience, consider adding the following elements:
- Colorful LED light strips to set the mood and energize the space.
- A disco ball to reflect light and add a fun, party vibe.
- A high-quality sound system to ensure crystal-clear audio for both singers and the audience.
Keep essential accessories like microphone stands and props nearby to inspire spontaneous performances. By curating this welcoming space, you'll elevate your karaoke nights, making them an unforgettable experience for everyone involved.
Sound Quality Preparation
Ensuring high-quality sound is crucial for an unforgettable karaoke experience. Begin by conducting sound checks at least an hour before the event. This allows sufficient time to confirm the audio quality and ensure all equipment is working correctly. Test various song options from your music source to identify and resolve any potential audio issues beforehand.
If available, use a sound level meter to balance the microphone and music levels. This ensures a harmonious mix that enhances guest enjoyment. Set your karaoke mixer to appropriate levels to avoid feedback or distortion during performances. Adjusting these settings can significantly improve overall sound quality. Additionally, offer a diverse selection of karaoke tracks to cater to different musical tastes. This variety not only enhances the experience but also keeps guests engaged.
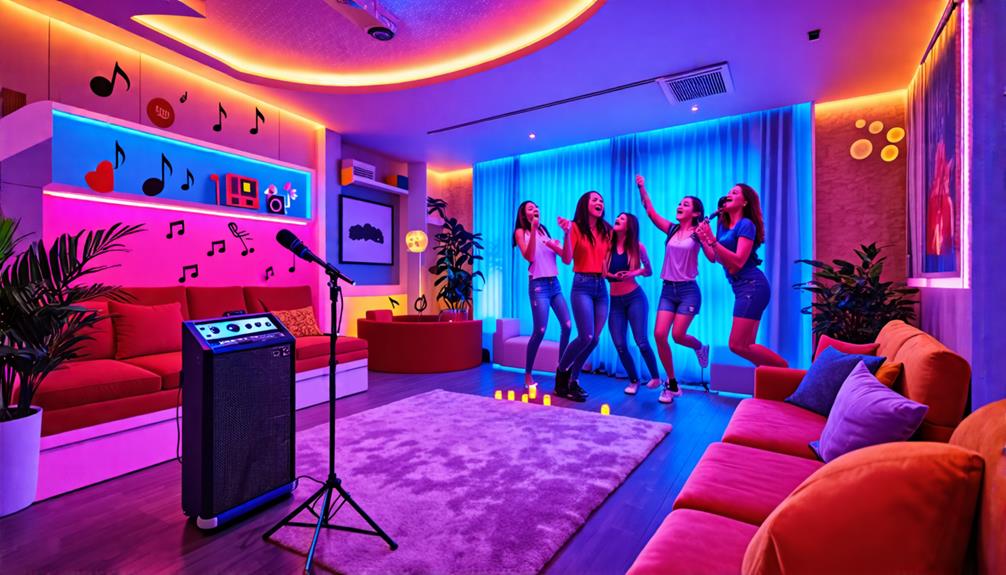
Encouraging Guest Participation

After setting up a great sound system, creating an inviting atmosphere for guest participation can elevate your karaoke night. Here are some effective strategies to encourage guest involvement:
- Start with confident performers to set the tone and inspire others.
- Request song choices in advance through RSVPs to plan the setlist and reduce decision-making stress during the event.
- Organize the initial song order based on guest responses to build excitement and momentum from the beginning.
Additionally, consider group performances or duets to make singing more approachable and less intimidating.
Conclusion
Setting up a karaoke system in your game room can turn your gatherings into unforgettable parties. Follow the equipment setup and audio configuration steps to create an enjoyable atmosphere for everyone. Enhance the experience with cozy lighting and a dedicated stage area. With the right preparation and encouragement, your guests will be eager to join in and showcase their singing talents. Get ready for countless fun nights filled with music and laughter!